Google Tag Manager is a great tool to track link clicks on your website, but it requires a complex setup. If you use WordPress, there is an easier solution to track link clicks and this post will show you how.
Tracking link clicks is quite important if you have a business website. By doing so, you will have clear insights over which links earn more clicks so that you can identify whether or not the placement is effective.
Without clicks, there will be no conversions. That’s why maximizing the number of clicks is extremely crucial. You can start the effort by learning the performance of the links.
Shortcuts ⤵️
- Why it’s important to track link clicks
- Plugins to track link links
- Tracking link licks using LinkCentral
- Monitoring the link clicks
- Summary
Why It’s Important to Track Link Clicks?
On your website, you usually place important links to strategic locations like header, footer and homepage.
On paper, this sounds logical because other website owners do it too. The question is, how to know if the placements are effective?
The only thing you can do to find the answer is to track the link clicks.
Basically, you need to track link clicks every time you want to turn visits into conversions. Be it visits on a dedicated landing page, on a blog post, or even on the homepage.
By learning how many clicks a link has earned, you can conclude whether or not the placement is effective and you can make some adjustments afterward.
Here are some real examples of when you should track link clicks:
- When you want to learn the performance of affiliate links
- When you want to learn the performance of a link on a landing page
- When you want to learn the performance of links on your website (e.g., link on the header button)
Plugins to Easily Track Link Clicks
Google Tag Manager is one of the most popular tools widely used by website owners and online marketers to track the performance of links.
While the tool is great, the implementation requires complex setup. You need to integrate your website with it and the steps are not easy. You need to place some JavaScript code to make the integration work.
On the other hand, there are some WordPress plugins that offer an easier solution to track link clicks. No complex integration.
Analytics plugins and link shortener plugins like Independent Analytics, LinkCentral, and ClickWhale have a useful feature to track link clicks.
The best part of using those plugins is that you don’t need to deal with code to set the integration.
Here are some WordPress plugins that you can use to track link clicks on your website:
| Plugin | Link tracker | Reporting |
|---|---|---|
| LinkCentral | Available on the free version | Available on the free version |
| ClickWhale | Available on the free version | Requires the pro version |
| Independent Analytics | Requires the pro version | Requires the pro version |
| PrettyLinks | Available on the free version | Requires the pro version |
| Thirsty Affiliate | Available on the free version | Requires the pro version |
Using LinkCentral to Track Link Clicks in WordPress
LinkCentral is a link shortener plugin that has a feature to track link clicks. In this example, I will show you how to track link clicks in WordPress using it.
All plugins above are great and I have tested them, but I prefer LinkCentral for this tutorial because the free version allows you to unlock the reporting feature.
With the feature, you can learn how many clicks your links have earned on a specific date or during a certain span (e.g. within the last 7 days or 30 days).
Here are the steps to track link clicks using LinkCentral.
Step 1: Install the Plugin
Of course, you need to install the LinkCentral plugin on your website before you can use it. The plugin itself is available for free on WordPress.org so that you can install it directly from your WordPress dashboard instead of manually uploading it via FTP.
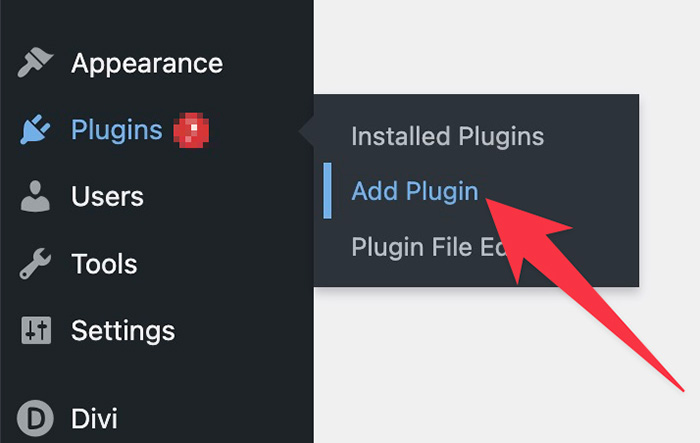
First, login to your WordPress dashboard and go to Plugins -> Add New.
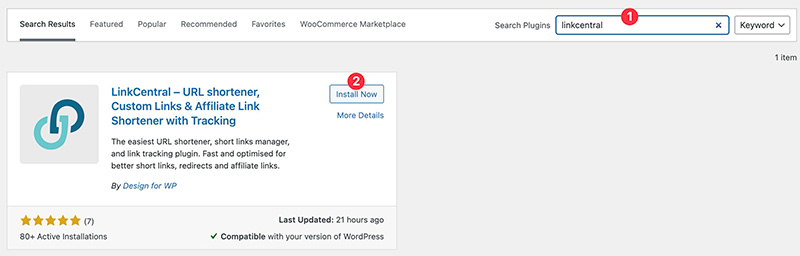
Type “linkcentral” on the search box and hit enter. Click the Install Now button to install the plugin on your website.
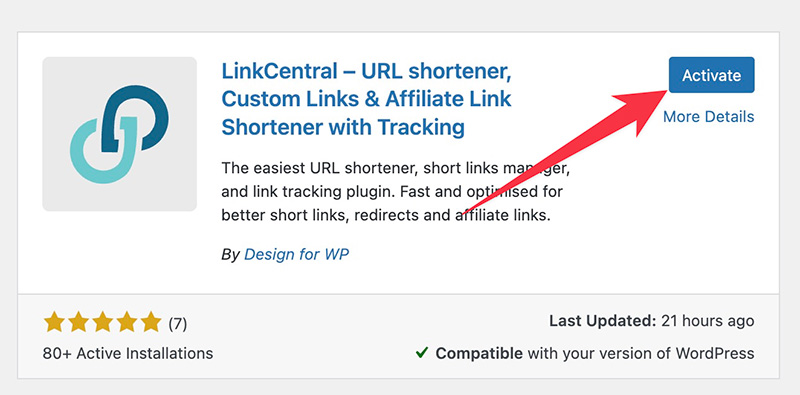
Activate the plugin right away once installed.
LinkCentral is now ready to help you to track link clicks on your website. But first, there are some settings you need to make.
Step 2: Make the Necessary Settings
The link tracker feature of LinkCentral can work immediately without extra configuration. However, in order to get accurate tracking results, I strongly recommend you to make the following settings.
By default, the feature tracks link clicks from all users. Including the logged in users. Meaning that when you click a link for a testing purpose (assuming you are in a login state), your click will be counted.
The default setting also tracks the link clicks from bots, making the tracking results less accurate.
To make the tracking results more accurate, you can exclude clicks from bots and logged in users. You can go to LinkCentral -> Settings on your WordPress dashboard to exclude these click types and open the Tracking tab.

One thing. Make sure to leave the option of Disable Reporting default to allow the link tracker feature work.
Step 3: Shorten a Link and Start the Tracking
Once you are done applying the settings above, you can start to use LinkCentral to track link clicks.
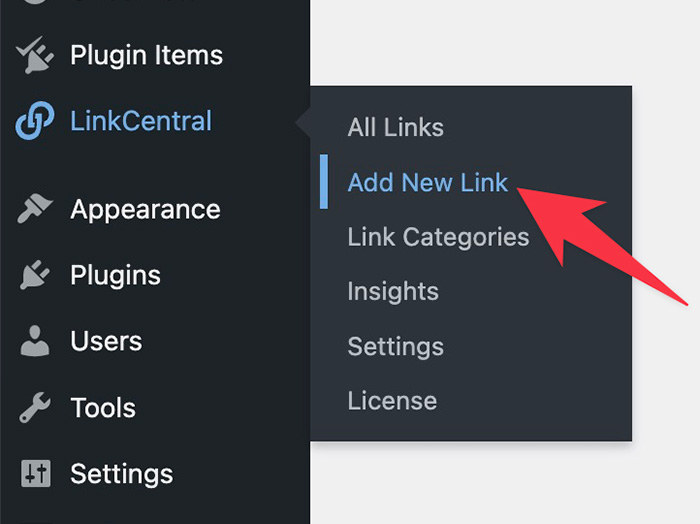
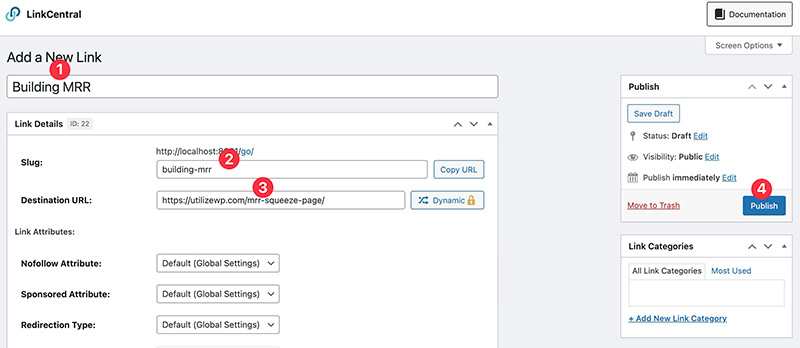
First, you need to shorten (cloak) the link you want to track. To do so, go to LinkCentral -> Add New Link.
Give your title a name on the Add title field. Paste the link you want to track on the Destination URL field and set the slug on the Slug field. End by clicking the Publish button to cloak the link.
Once the link is cloaked/shortened, you can place it (the link) anywhere and LinkCentral will count every click on it.
Placing the Cloaked Link
You can place the link you cloaked with LinkCentral anywhere on your website. On a landing page, on a blog post, on a header. Literally anywhere.
You can do so by manually pasting the link on the link field of the element you want to add the link to (text, button, etc).
However, to make your job easier in the future, I strongly recommend you to add the cloaked link using the integration feature that LinkCentral offers.
If you use this feature, the cloaked link you have added will be automatically updated when you make changes to it in the future. The changes include link slug and attributes.
— Placing the Cloaked Link on Gutenberg
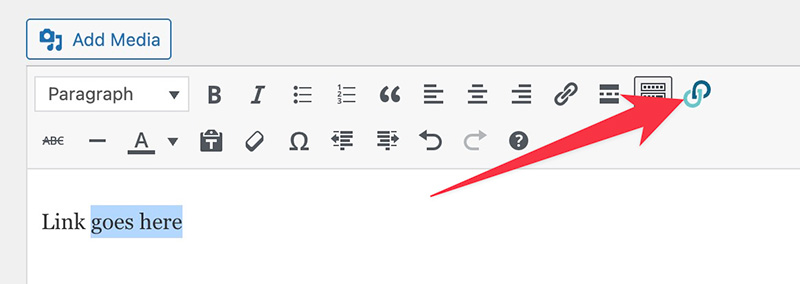
After installing and activating the LinkCentral plugin, you will see a new icon on the formatting bar of Gutenberg. The icon shows up every time you highlight a text or you want to add a link to a Button block.
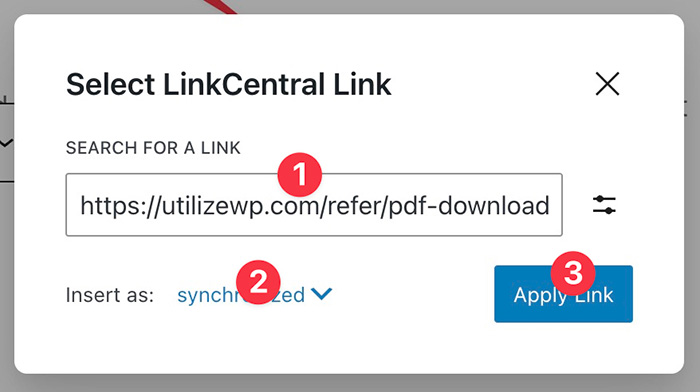
You can click the icon and paste a cloaked link to the appearing window. Keep the link insert option to default (synchronized) and click the Apply Link button.
— Placing the Cloaked Link on Classic Editor
Apart from Gutenberg (aka Block Editor), the LinkCentral integration is also available on Classic Editor.
Not only can you use the integration on WordPress core (when you work with Classic Editor) but also other plugins that use Classic Editor to edit the content. Those plugins include Elementor (the Text Editor widget) and Beaver Builder (the Text module).
To place the cloaked link on Classic Editor, simply highlight the text you want to add the link to and click the LinkCentral icon.
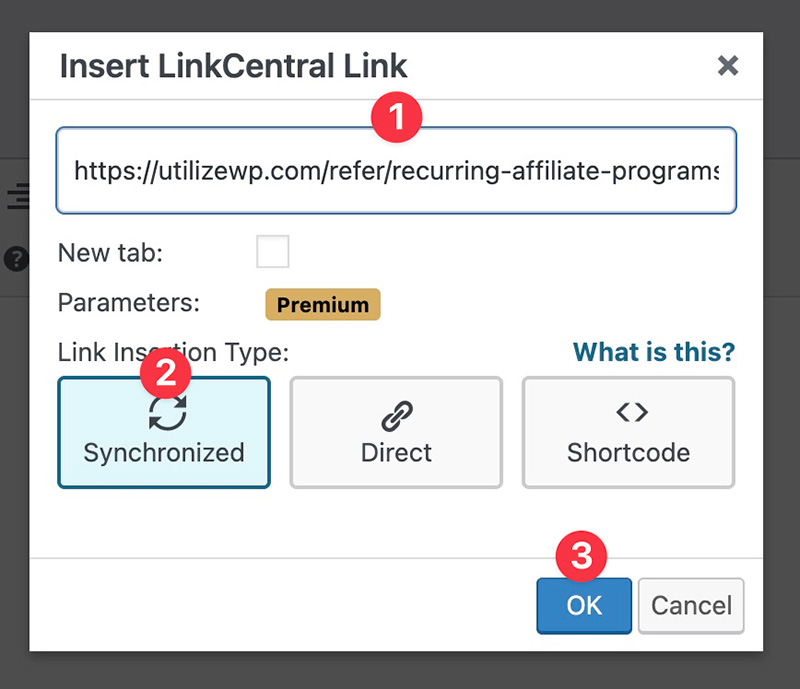
Paste the link to the appearing window. Set the link insertion type to Synchronized and click the OK button.
Monitoring the Performance of the Links
LinkCentral comes with a reporting feature that you can use to monitor the performance of the links you have cloaked and it’s available for free.
No extra setting is required to use the feature.
With the feature, you can find out the number of clicks the cloaked links have earned during a certain period. The feature also tells you the popular links and recent clicks.
If you need advanced reporting such as the ability to monitor the performance of a specific link, countries of the visitors and technologies they use (web browsers, device types, and operating systems) then you can use the pro version (completely optional).
But for basic link tracking, I think the free version is more than enough.
| Free | Pro | |
|---|---|---|
| Ability to monitor link clicks during a certain period | ✅ | ✅ |
| Ability to monitor link clicks of a specific link | ❌ | ✅ |
| Country tracking | ❌ | ✅ |
| Technology tracking (web browsers, devices, operating systems) | ❌ | ✅ |
| Popular links | ✅ | ✅ |
| Recent clicks | ✅ | ✅ |
Accessing the Reporting Feature in LinkCentral
When you see all of your cloaked links (LinkCentral -> All Links) you can instantly find out the total of clicks each link has earned on the second left-most column.
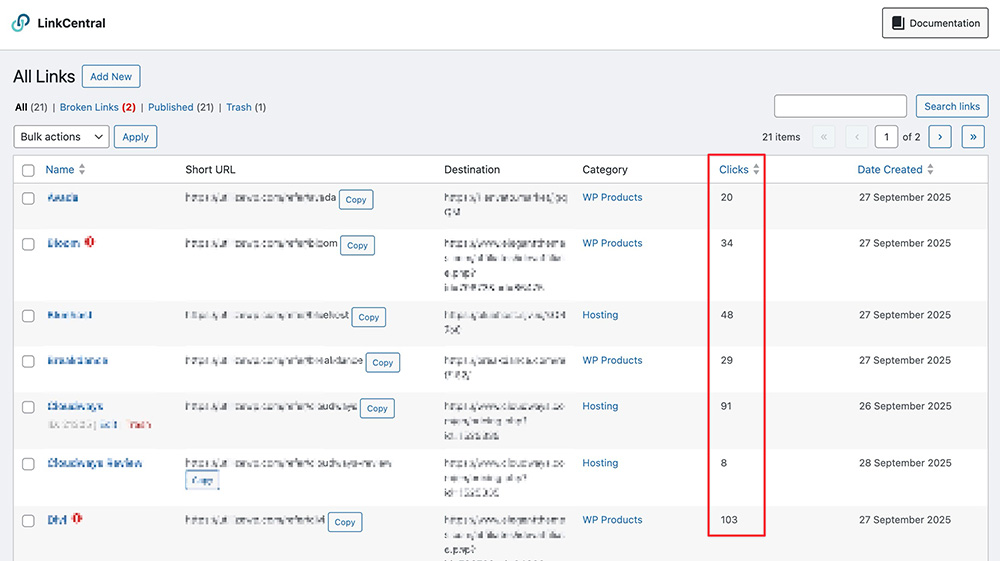
The column shows the number of clicks each link has earned from the moment the link was created (all-time clicks).
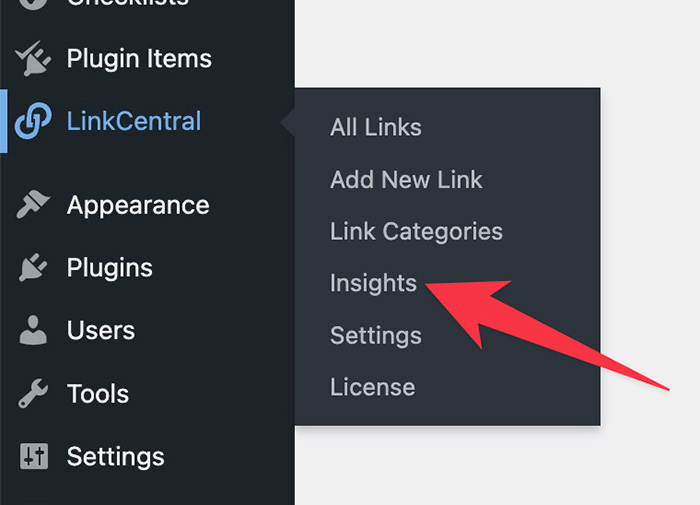
For more detailed reporting, you can access the dedicated reporting feature that LinkCentral offers. You can go to LinkCentral -> Insights to access the feature.
On the Insights screen, you will be presented with a visual chart where you can learn the performance of your cloaked links.
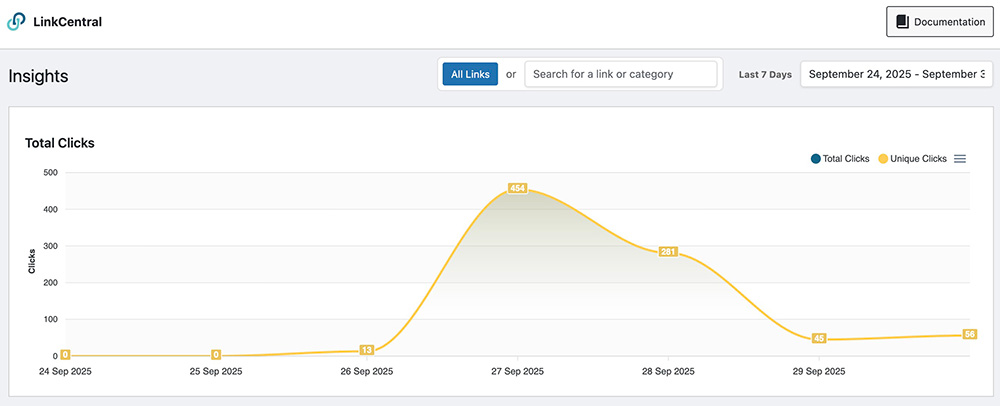
As you can see, you can monitor the number of clicks all of your links have earned per day (notice the x axis).
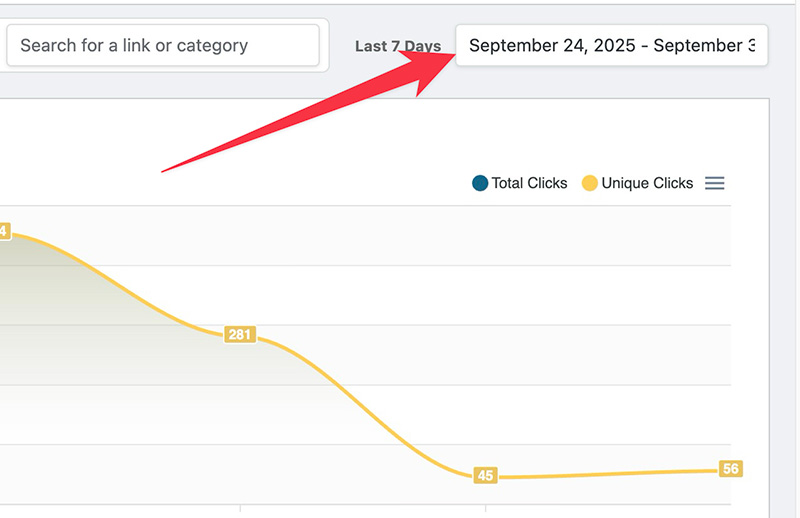
To find out the number of clicks all of the links have earned during a certain period, you can simply set the dates. Or you can use the pre-defined period like within a week, within a month or within a year.
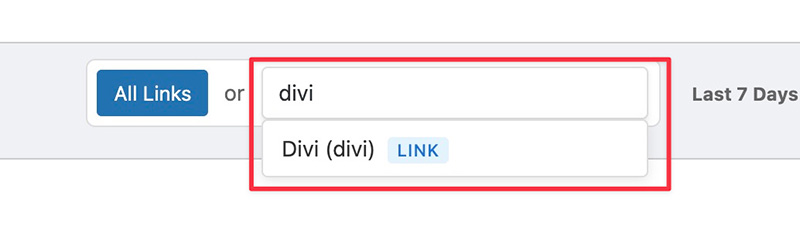
If you use the pro version of LinkCentral, you can monitor the performance of a specific link instead of all links. You can simply search the link you want to monitor on the available search box which lies above the chart.
The pro version also allows you to monitor the countries of your visitors as well as the technologies they use to access your website.
LinkCentral uses a third-party service for country tracking. You can set the service from the Country Tracking Service option under the Tracking tab on the Settings screen.
That’s it. As you can see, you don’t need a complex setup to track link clicks in WordPress using LinkCentral.
Summary
In business, every decision should be backed by data. This includes a simple decision like link placement. You can only find out whether or not a link placement is effective by learning the performance.
Google Tag Manager is a super useful tool. The problem is that it takes complex steps to integrate it with your WordPress website.
There are a bunch of WordPress plugins that offer an easier solution to track the performance of links. One of which is LinkCentral.
LinkCentral is a link shortener plugin by nature, but it has a super useful feature to track link clicks. No need to deal with code to track link clicks with LinkCentral. You just need to apply some necessary settings and shorten a link with it and you are all set.
The best part, it comes with a reporting feature accessible for free although the pro version is required to see advanced data like countries and technologies. Still, the free version is extremely usable to track link clicks.


